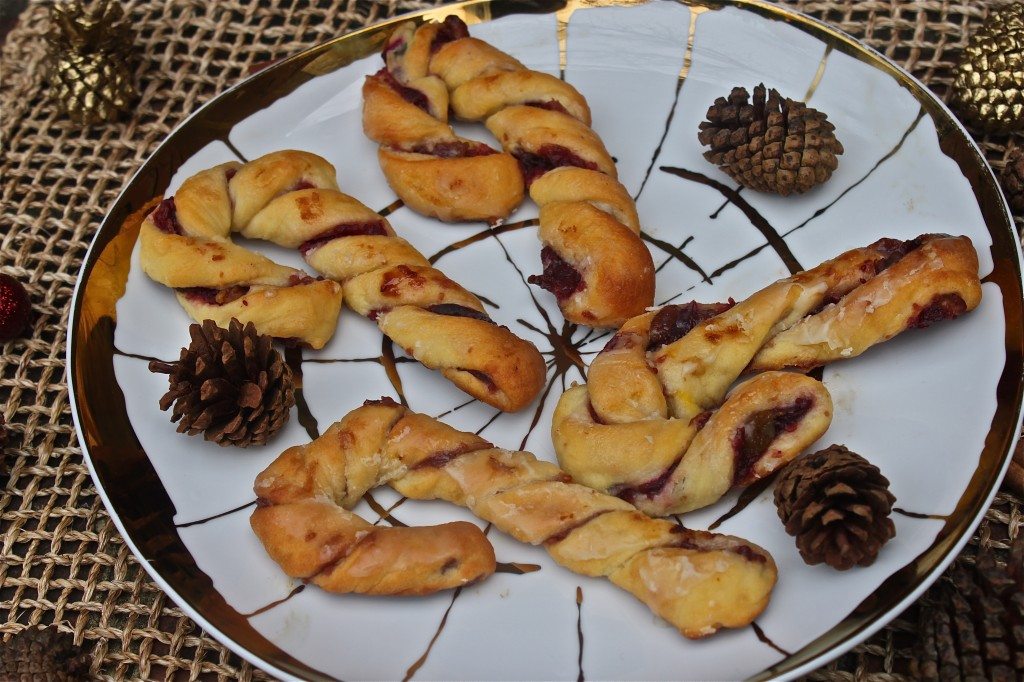
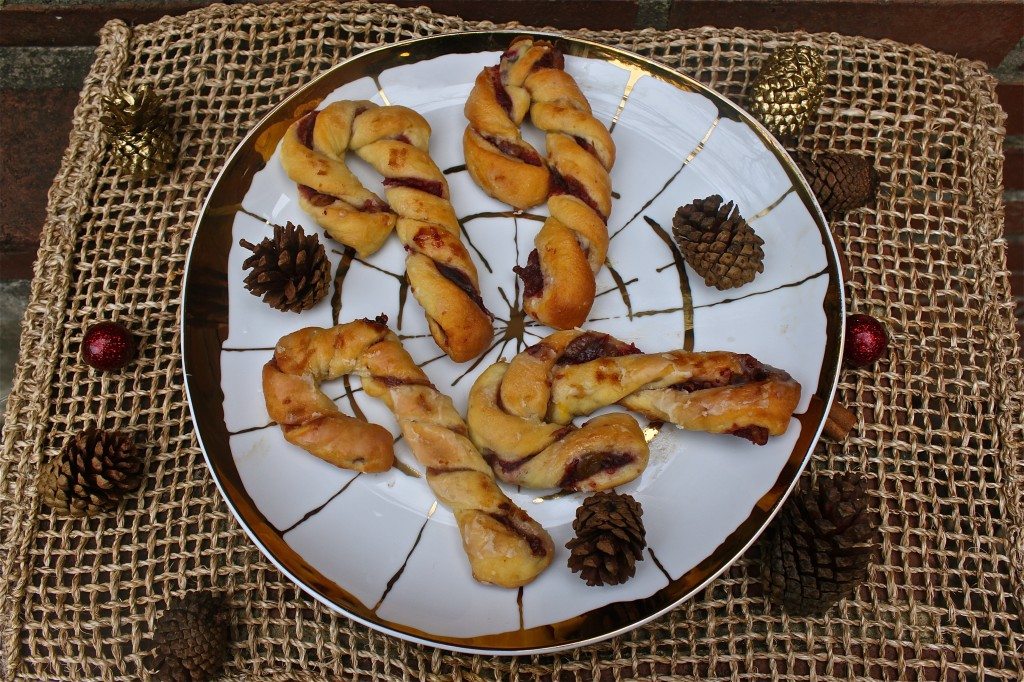
Great Grammy’s Cranberry Canes
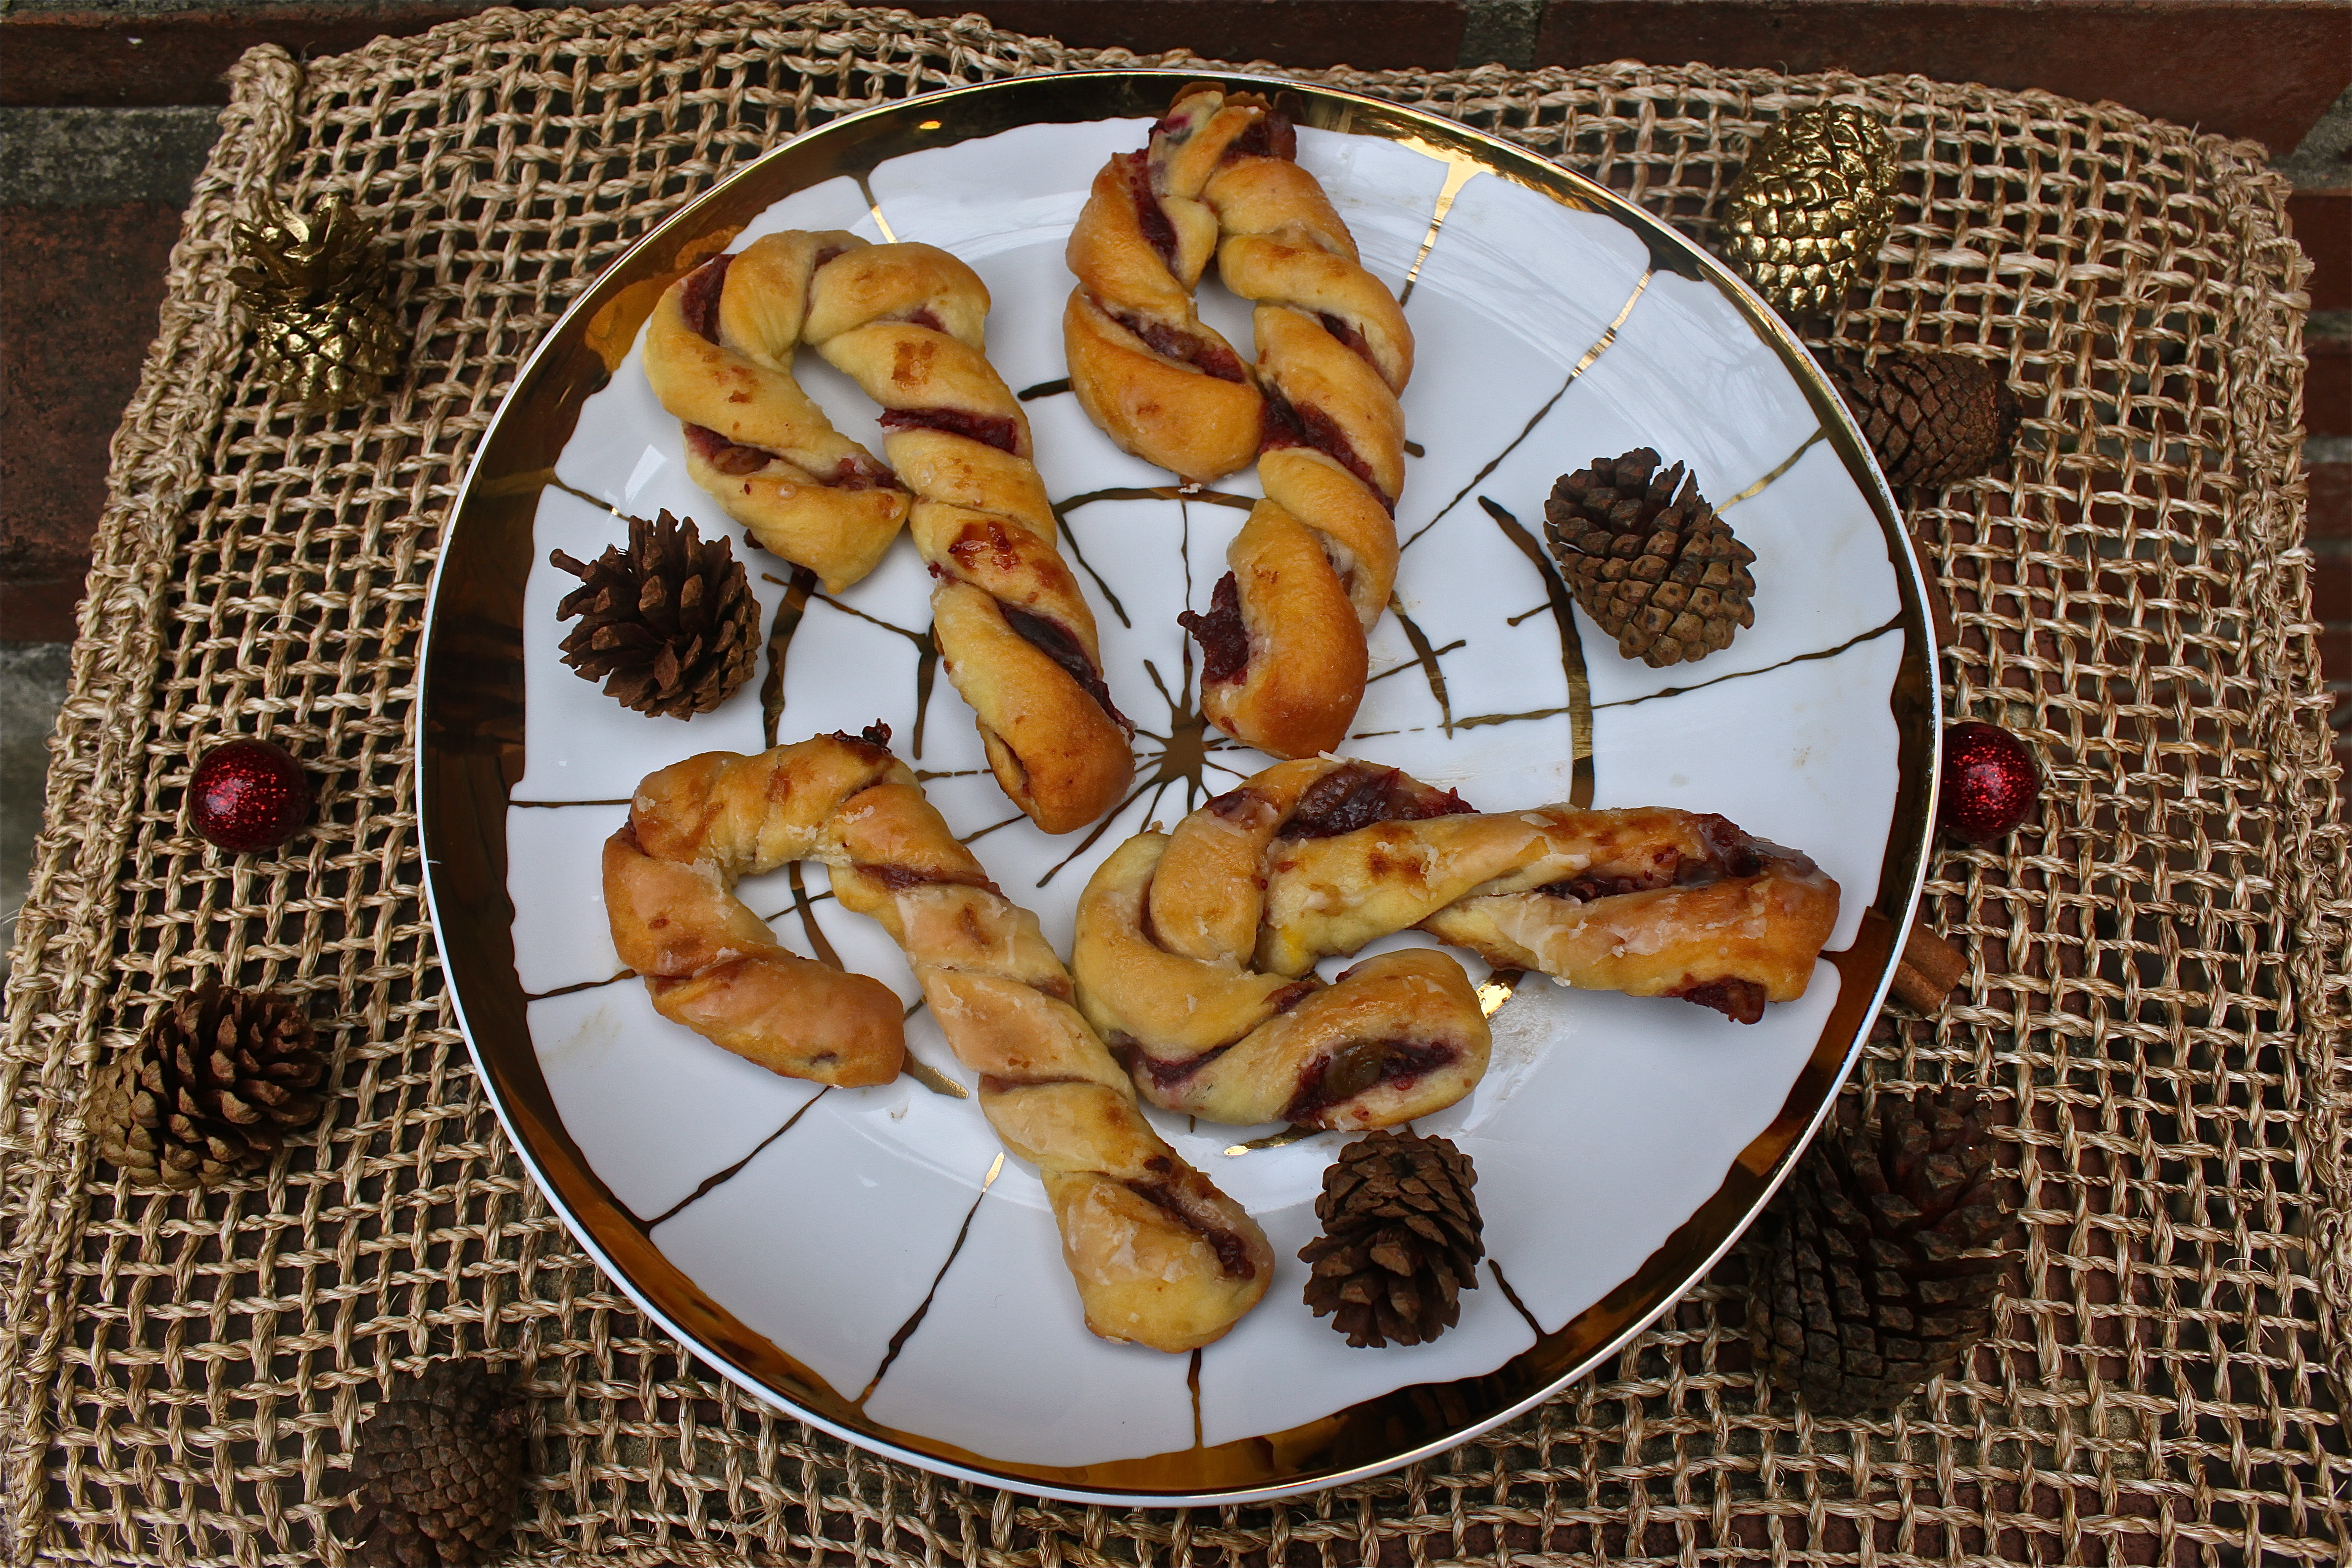
Among my earliest Christmas memories is the box that came each year filled with Great-Grammy Steven’s cranberry canes. There were always far more than a family of three could possibly eat, and I doubt that I was much help since they had far less frosting than the other cookies that were floating around during the month of December. I think it’s been close to twenty years since I’ve had a cranberry cane, but I decided that this was the year to try my hand at making them myself in honor of the first Christmas without Grammy. While my Grandpa had upwards of fifteen “last Christmases” (I finally stopped counting), I think we all thought that Grammy would live forever.

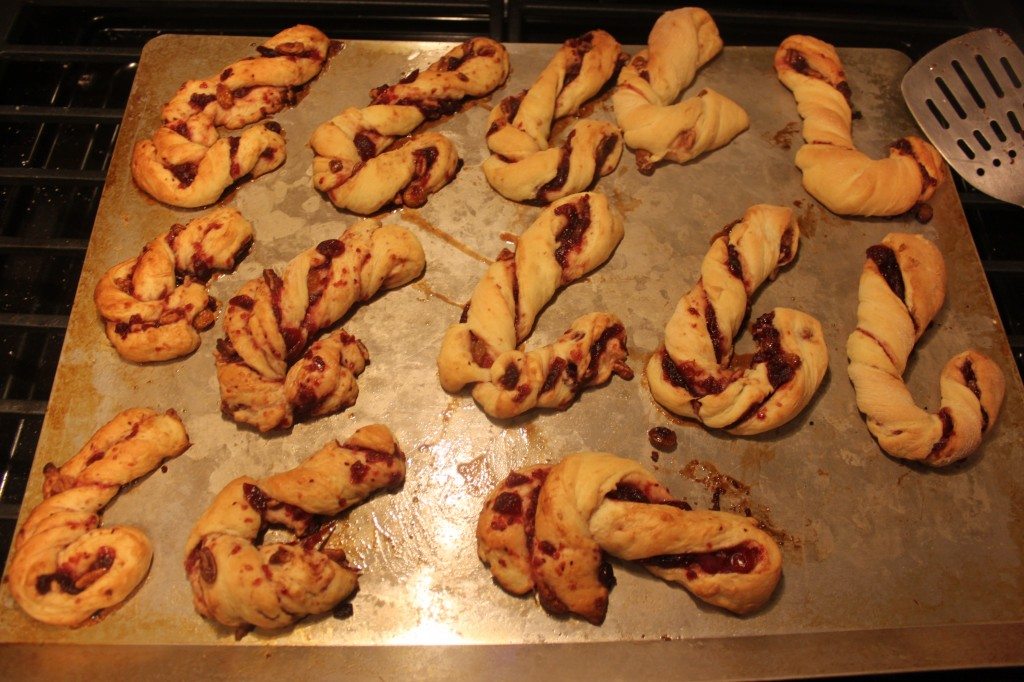
The first thing I realized when I started making the cranberry canes was how much we should have appreciated them over the years: these things are a pain in the ass to make! You have to make the dough, let it sit overnight, make the filling, carefully fold, cut and twist the dough into canes and then let them sit again before baking. Granted I’m quite certain Grammy had infinitely more patience than I have in the kitchen (in this post, I talked about our very different styles when it comes to kitchen etiquette). Anyways, let’s just say these are a craft that requires practice. Courtney accurately observed that my first batch “appeared to have elephantitus,” and a number of them really looked more like bloody dinosaurs than candy canes.
Luckily by the second batch, I’d worked out a few of the glitches.
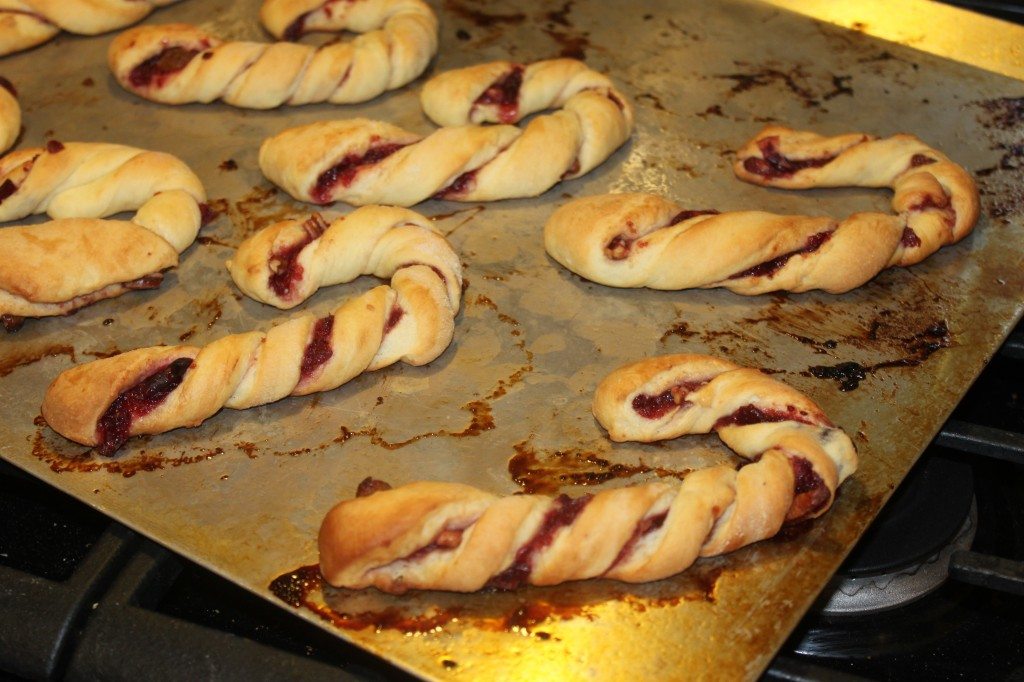
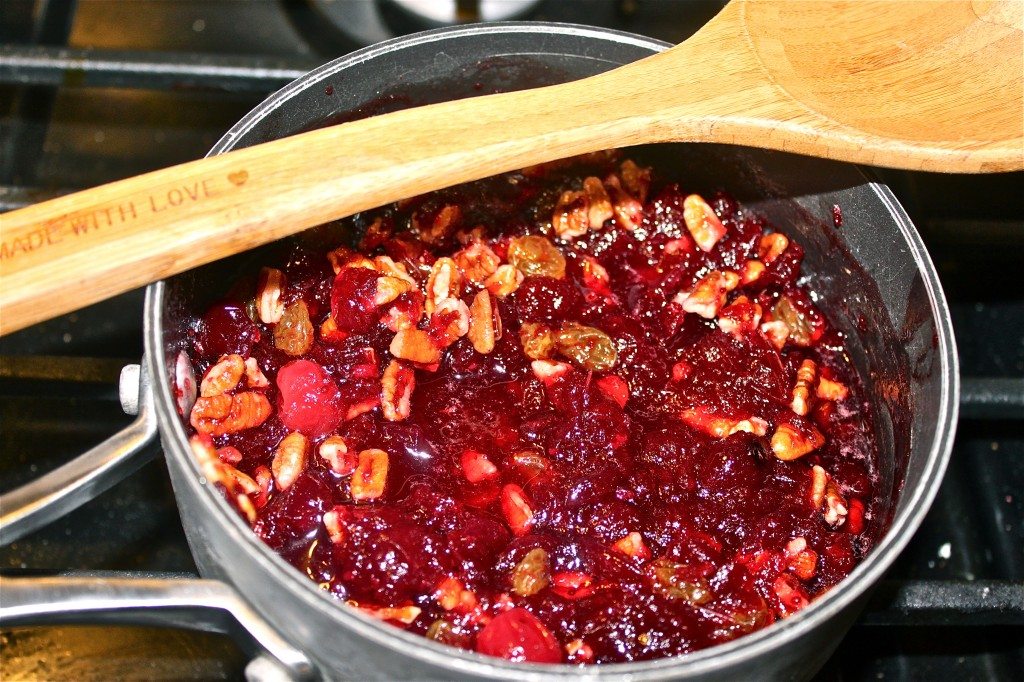
I actually heated my leftover orange-bourbon cranberry sauce and mixed in the pecans and honey. This worked extremely well, until I ran out of cranberry sauce before the third batch. Luckily, I found some homemade spicy raspberry jam a friend gave me which made a delicious alternative.
Here are the lessons I learned along the way:
- Don’t spread the dough too thin. It’s more important to be able to work with the dough than it is to get the suggested dimensions.
- Let the cranberry filling cool completely before spreading it on the dough. I spread it while very warm which created a sticky mess and dough that was nearly impossible to work with.
- While you want to cut the strips as thin as possible so that you get a generous amount of canes and they don’t “look like they have elephantitus,” don’t cut them so thin you can’t twist them without them falling apart.
I will say though that even the not so pretty candy canes were delicious! While my younger self may have preferred my cookies slathered with a thick sugary frosting, my more mature self really loved these cranberry canes, which aren’t overly sweet. Almost like a danish, they are perfect for breakfast warmed up just a bit and served with coffee or tea! While I questioned how well my cranberry canes would hold up in the mail, I figured that if Grammy did it for all those years, I too could box them up and ship them to loved ones. And if they arrived in less-than-stellar shape, I hope that their staleness and/or brokenness is made up for in sentimental value!
Cranberry Christmas Canes
Adapted from Taste of Home
INGREDIENTS:
Dough:
- 4 cups all-purpose flour
- 1/4 cup sugar
- 1 teaspoon salt
- 1 teaspoon grated lemon peel
- 1 cup cold butter, cubed
- 1 package (1/4 ounce) active dry yeast
- 1/4 cup warm water
- 1 cup warm 2% milk
- 2 eggs, lightly beaten
Filling:
- 1-1/2 cups finely chopped fresh or frozen cranberries
- 1/2 cup sugar
- 1/2 cup raisins
- 1/3 cup chopped pecans
- 1/3 cup honey
- 1-1/2 teaspoons grated orange peel
*For the filling, you can also use leftover cranberry sauce and add pecans, honey and raisins. This is what I did, and they turned out splendid.
Glaze:
- 1 cups confectioners’ sugar
- 1/4 cup 2% milk
- 1/2 teaspoon vanilla extract
- 1 tsp lemon juice
DIRECTIONS:
- In a large bowl, combine the flour, sugar, salt and lemon peel; cut in butter until crumbly. In a small bowl, dissolve yeast in warm water. Once the yeast is dissolved, add milk and eggs. Stir into flour mixture until blended. Cover and refrigerate overnight.
- In a saucepan, combine the filling ingredients. Bring to a boil over medium heat, stirring constantly. Cook and stir 5 minutes longer; cool.
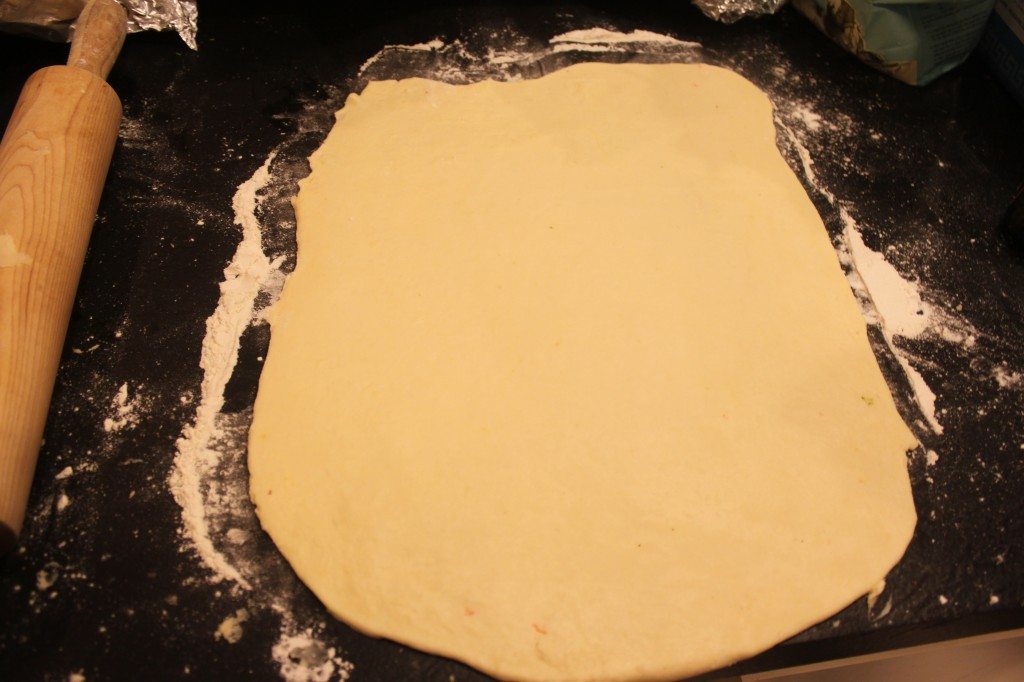
- Punch dough down. Turn onto a lightly floured surface; divide in half. Roll one portion into an 18-in. x 15-in. rectangle (or as close as you can get it without it being to thin to work with).
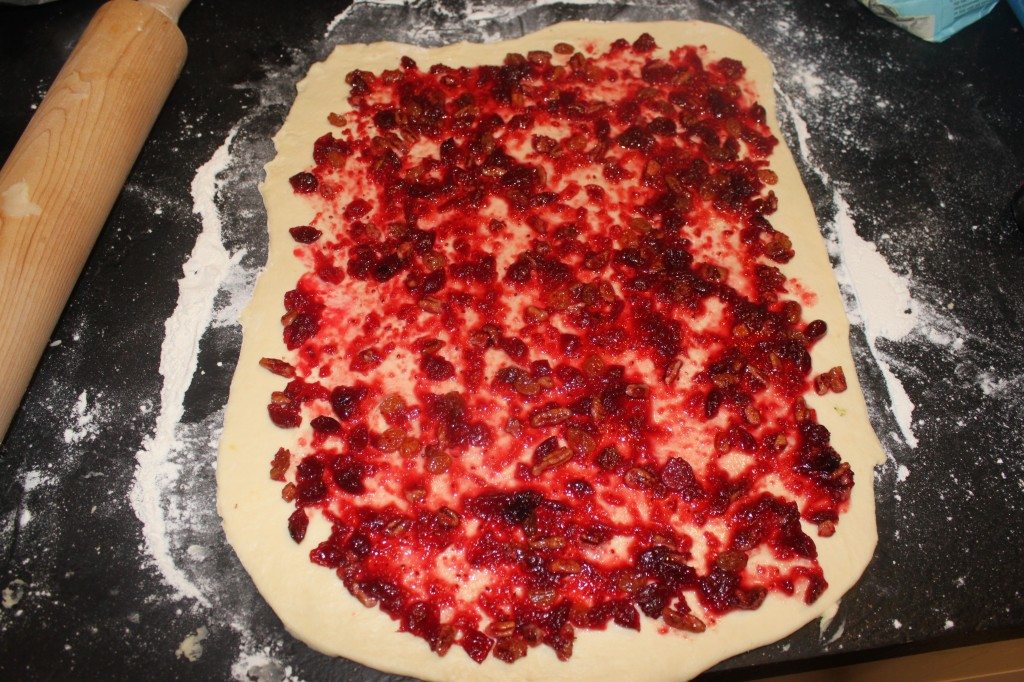
Spread filling to within 1/2 in. of edges.
Fold one short side to center over filling…
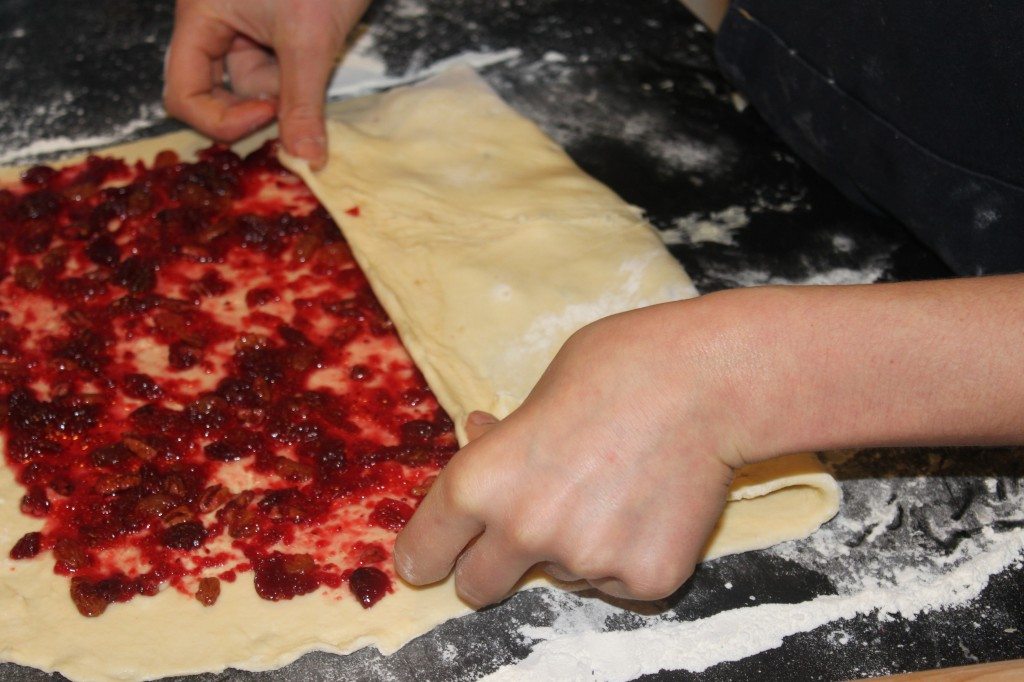
…repeat with other side, making a 15-in. x 6-in. rectangle.
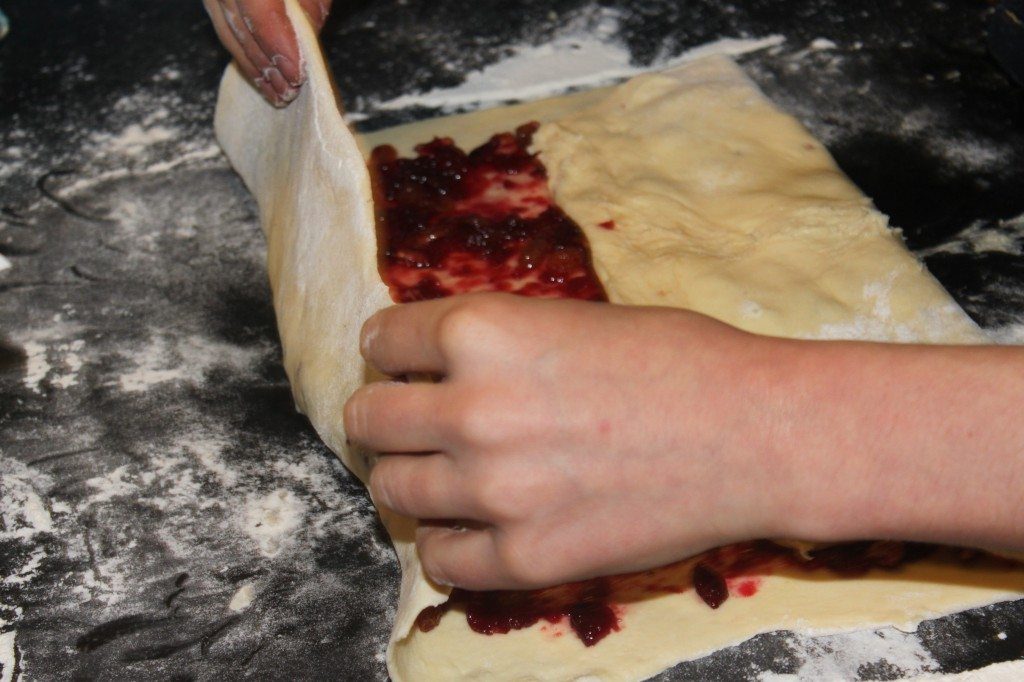
Pinch seam to seal.
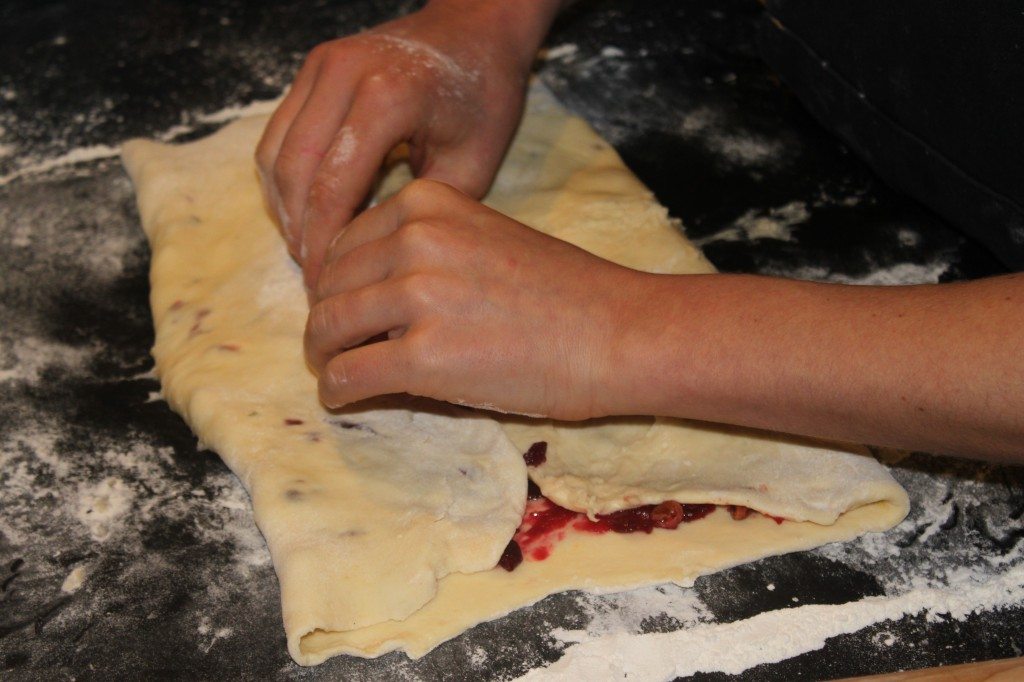
Cut into 15 slices (or as many as you can without making them so thin you can’t work with them).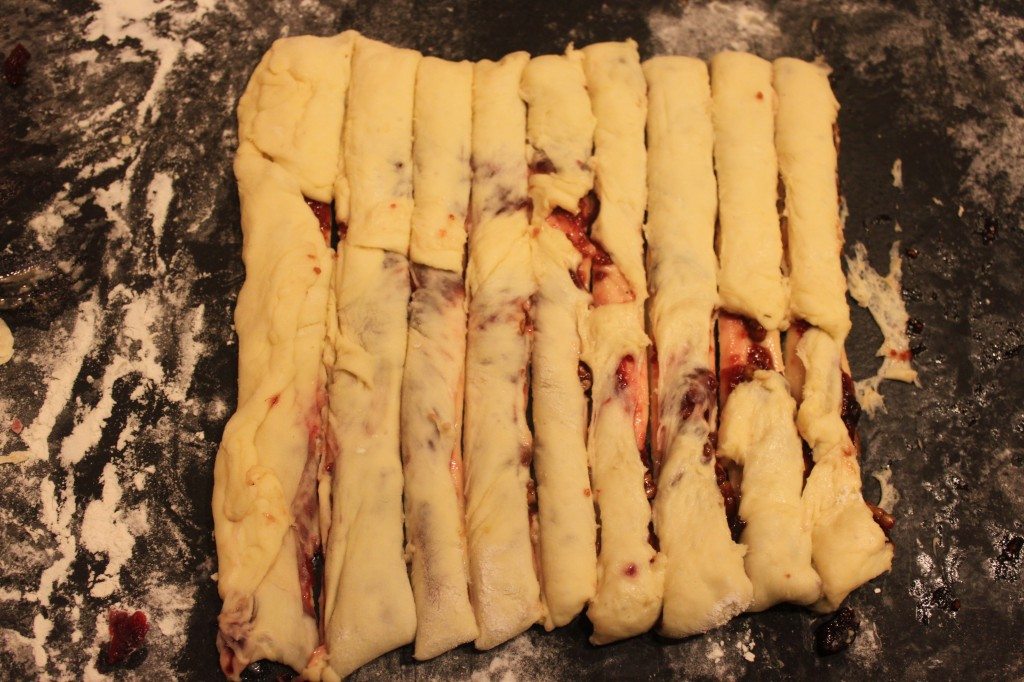
Twist each slice and form a cane shape.

- Place 2 in. apart on greased baking sheets. Repeat with remaining dough and filling. Cover and let rise is a warm place until doubled, about 45 minutes.
- Bake at 400° for 12-14 minutes or until golden brown. Remove from pans to wire racks. Meanwhile combine glaze ingredients; drizzle over warm rolls.
Yield: 24-30

