Celebrating the 100th Birthday of the Girl Scouts with Homemade Samoas!
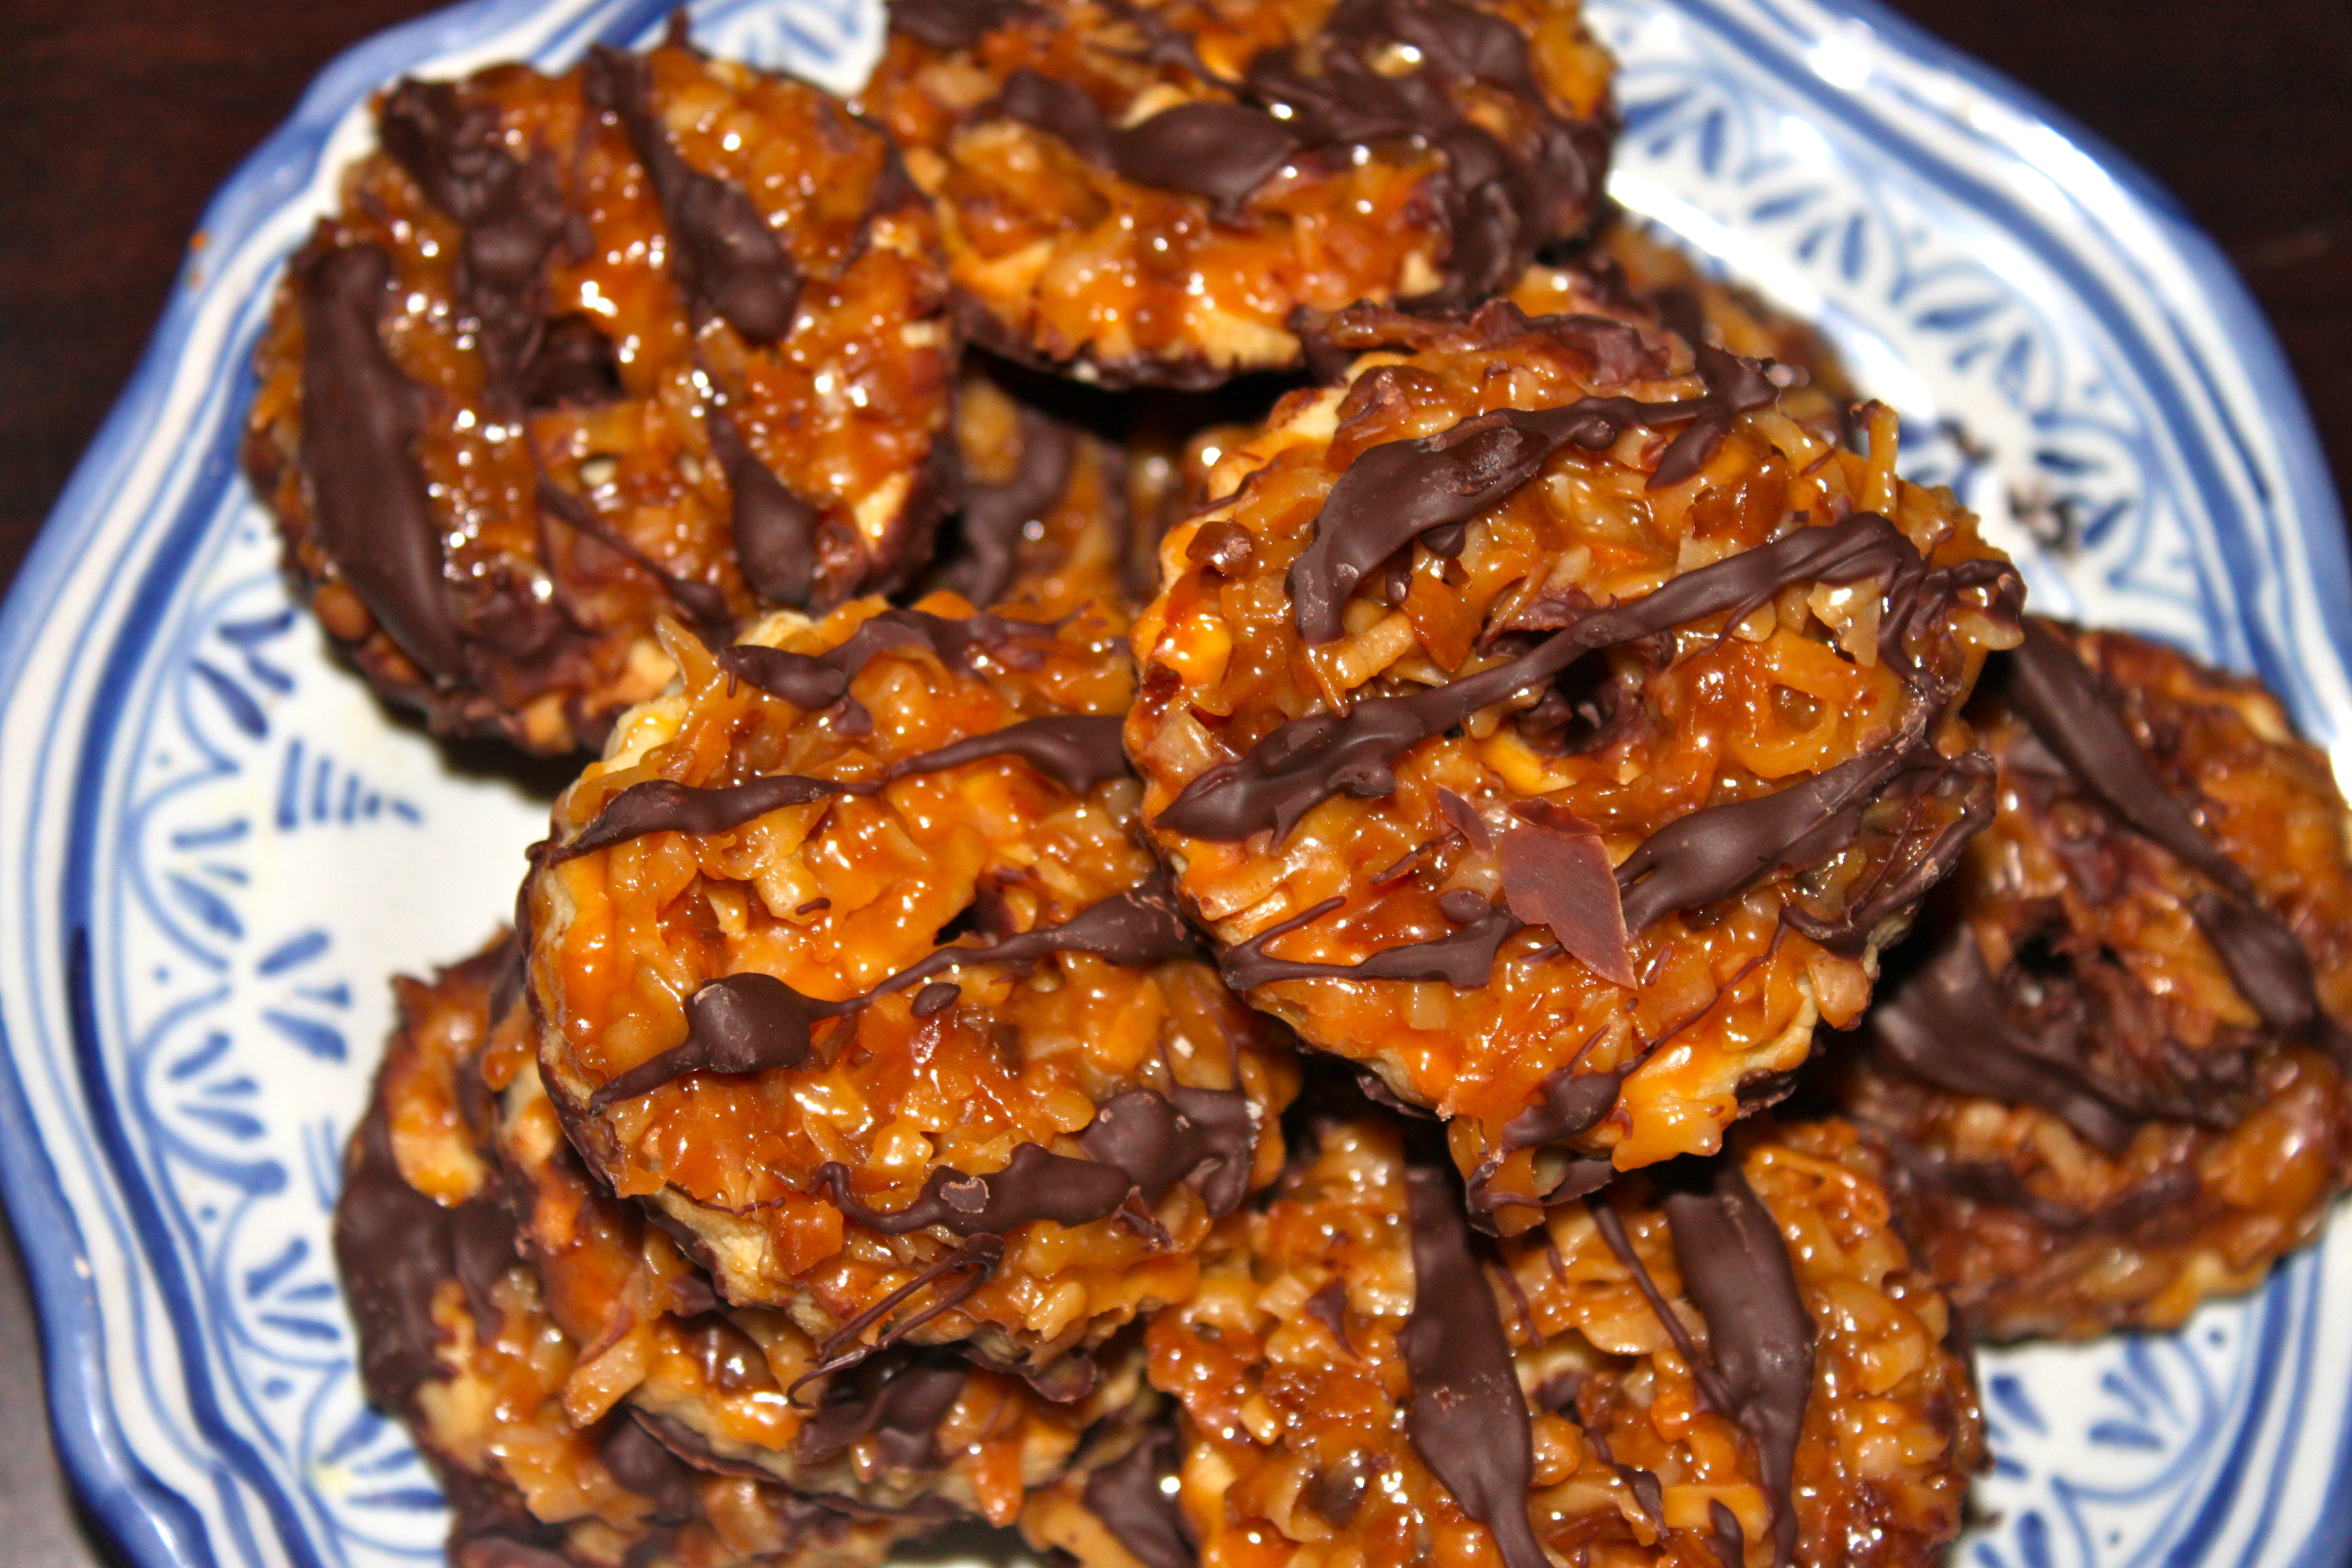
Everyone has a favorite Girl Scout cookie, and Samoas happen to be mine. The Girl Scouts celebrated their 100th anniversary on March 12th, and what better way to celebrate than with these homemade Samoas? I pinned this recipe long ago, thinking to myself “Now that I can make these myself, who needs the Girl Scouts!” Well, I made them and realized just how wrong I was. Don’t get me wrong, they were good. In fact, my husband’s face fell when I declared that I would not be making these again until the Girl Scout’s 200th birthday.
But here’s the thing: these cookies are a ton of freakin’ work and left my kitchen looking like a chocolate filled atomic bomb had gone off.

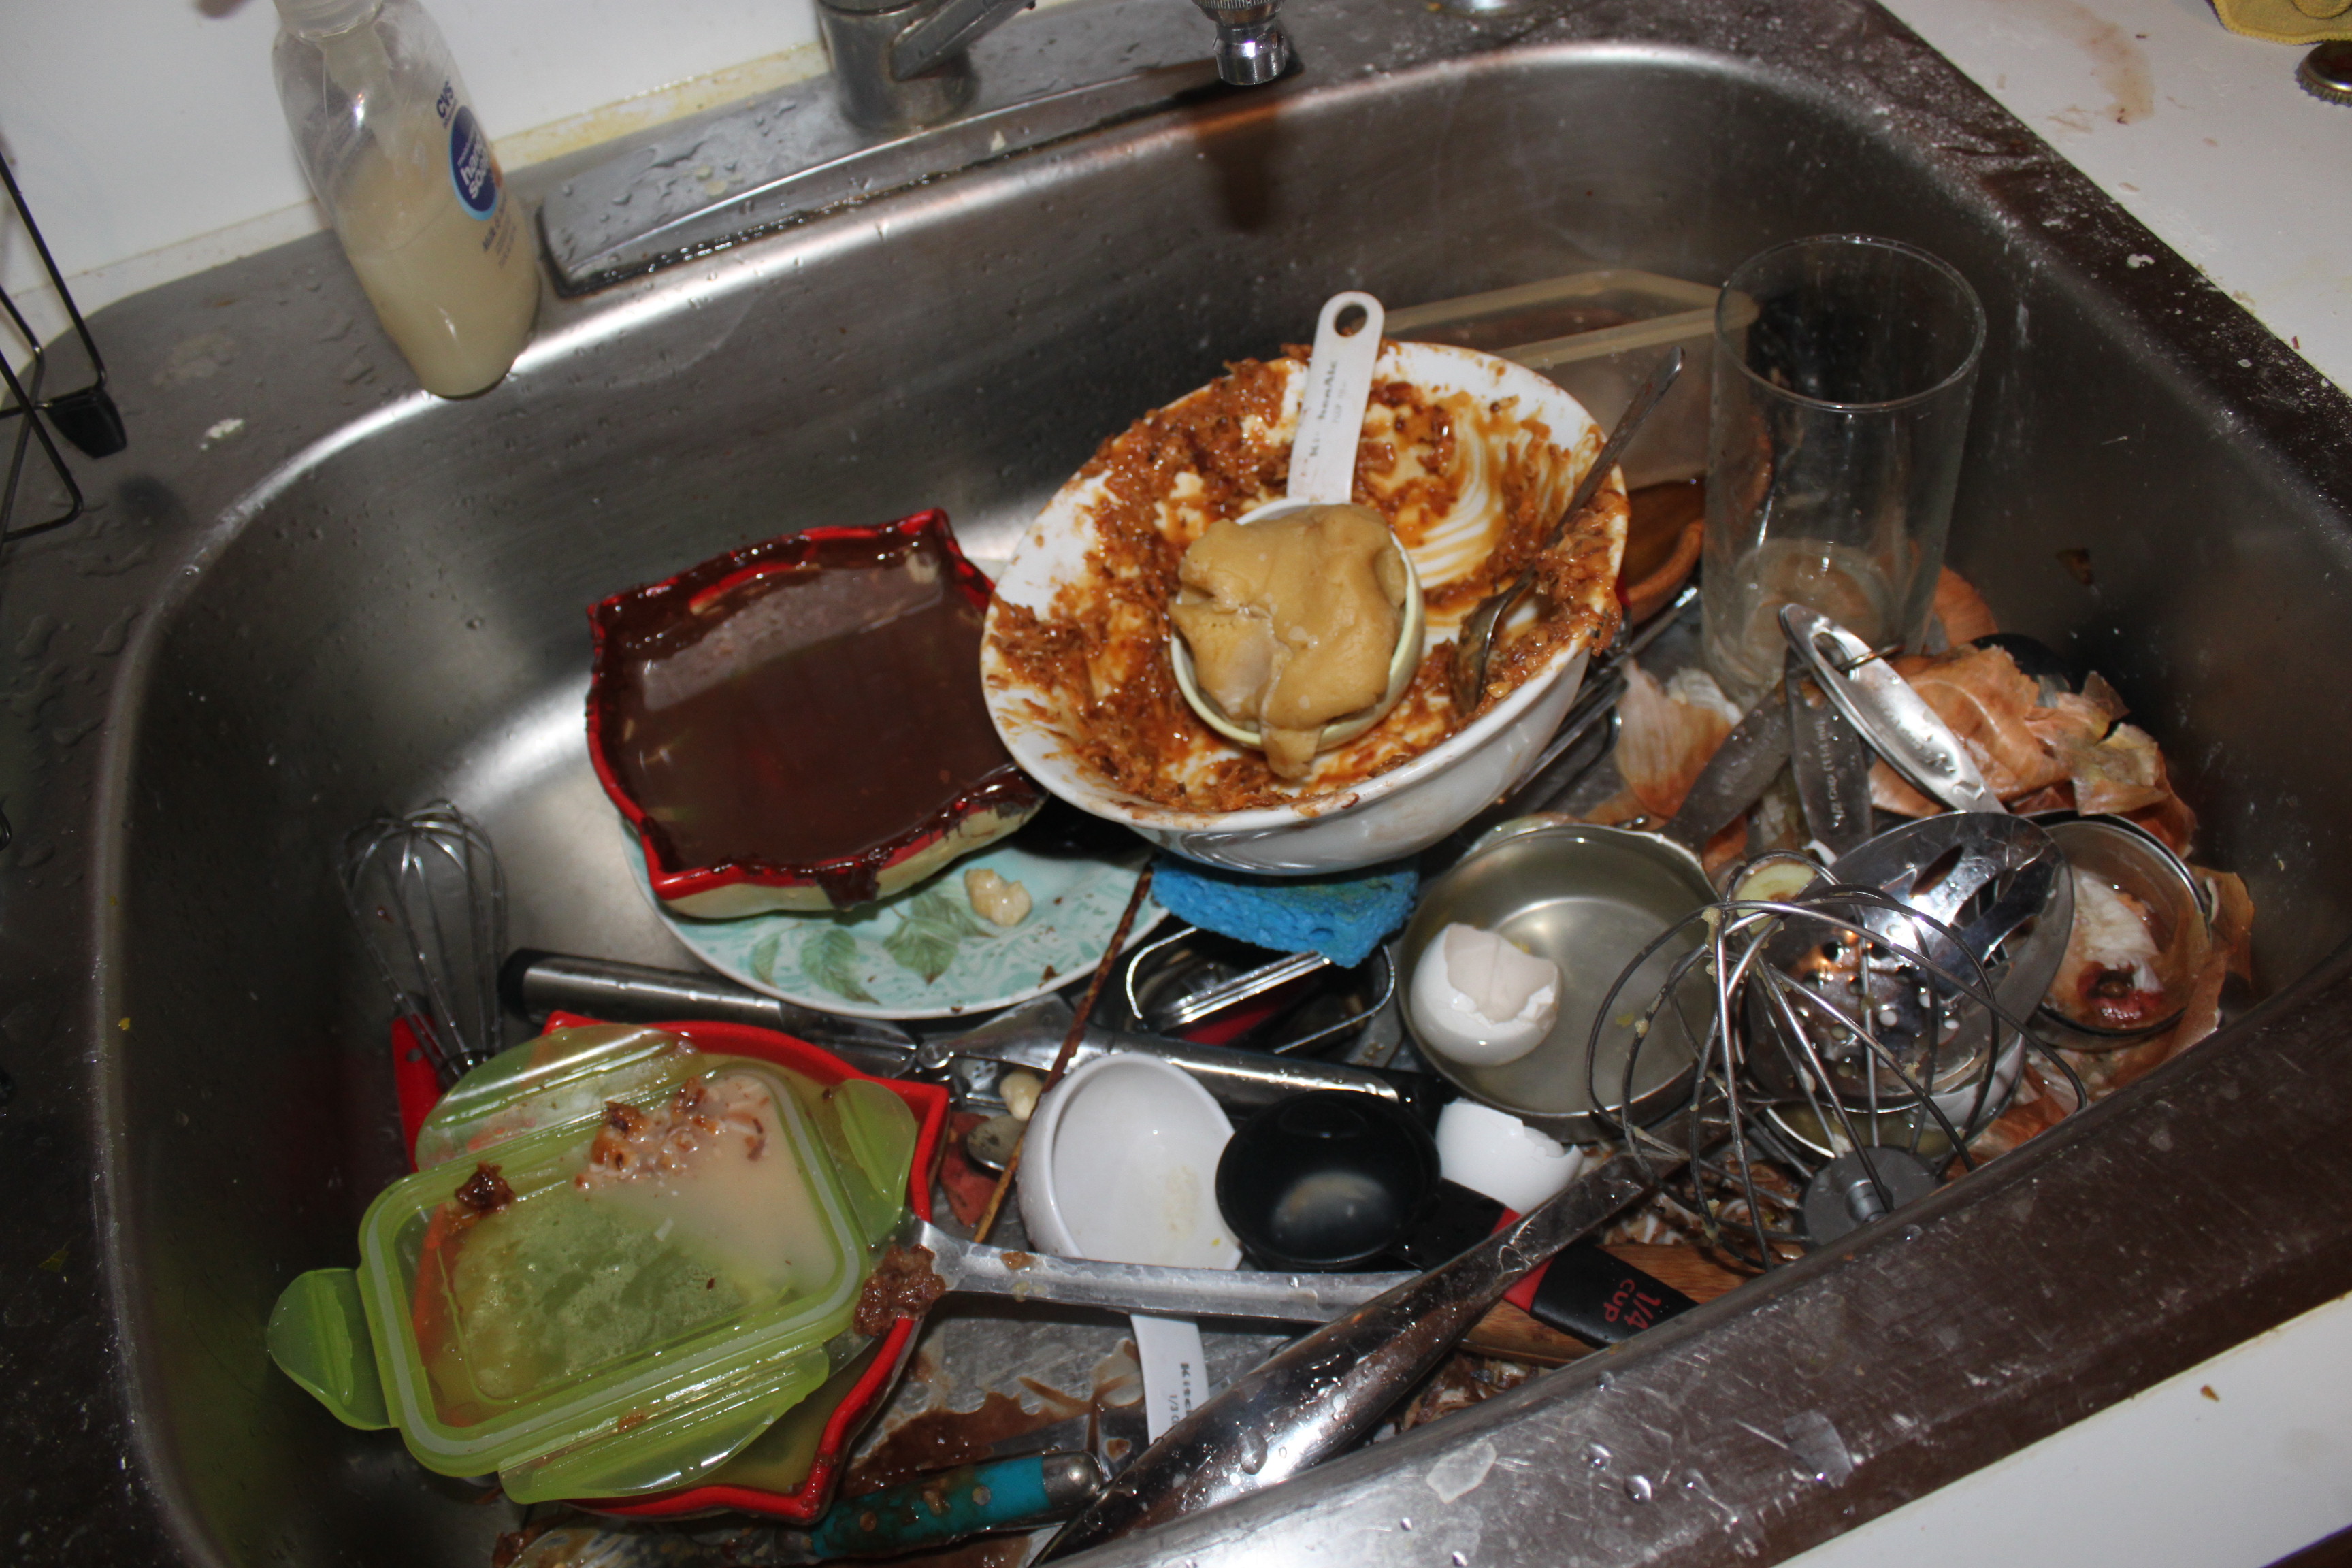

The Girl Scouts have been making these cookies for a very, very long time. They can make them faster than I can and they can make them for less money than I can. They’re also cuter. Personally, I will be leaving these up to the experts from now on. But should you be so inclined…
Homemade Samoas
This exact recipe is all over the internet so no citation, but obviously not an original!
Ingredients:
For Cookies:
- 1 cup butter, softened
- 1/2 cup sugar
- 2 cups all purpose flour
- 1/4 teaspoon baking powder
- 1/2 teaspoon salt
- 1/2 teaspoon vanilla extract
- 2 tbsp milk
- 3 cups shredded coconut (I used sweetened)
- 12 oz chewy caramels
- 1/4 teaspoon salt
- 3 tbsp milk
- 8 oz dark chocolate
Directions:
For Cookies:
- Preheat oven to 350 degrees. In a large mixing bowl, cream together butter and sugar. Mix in the remaining dry ingredients at a low-speed until combined, and then add the wet ingredients. Use up to 2 tbs. of milk, until the dough comes together without being sticky. If the dough gets sticky, add a little bit of extra flour.
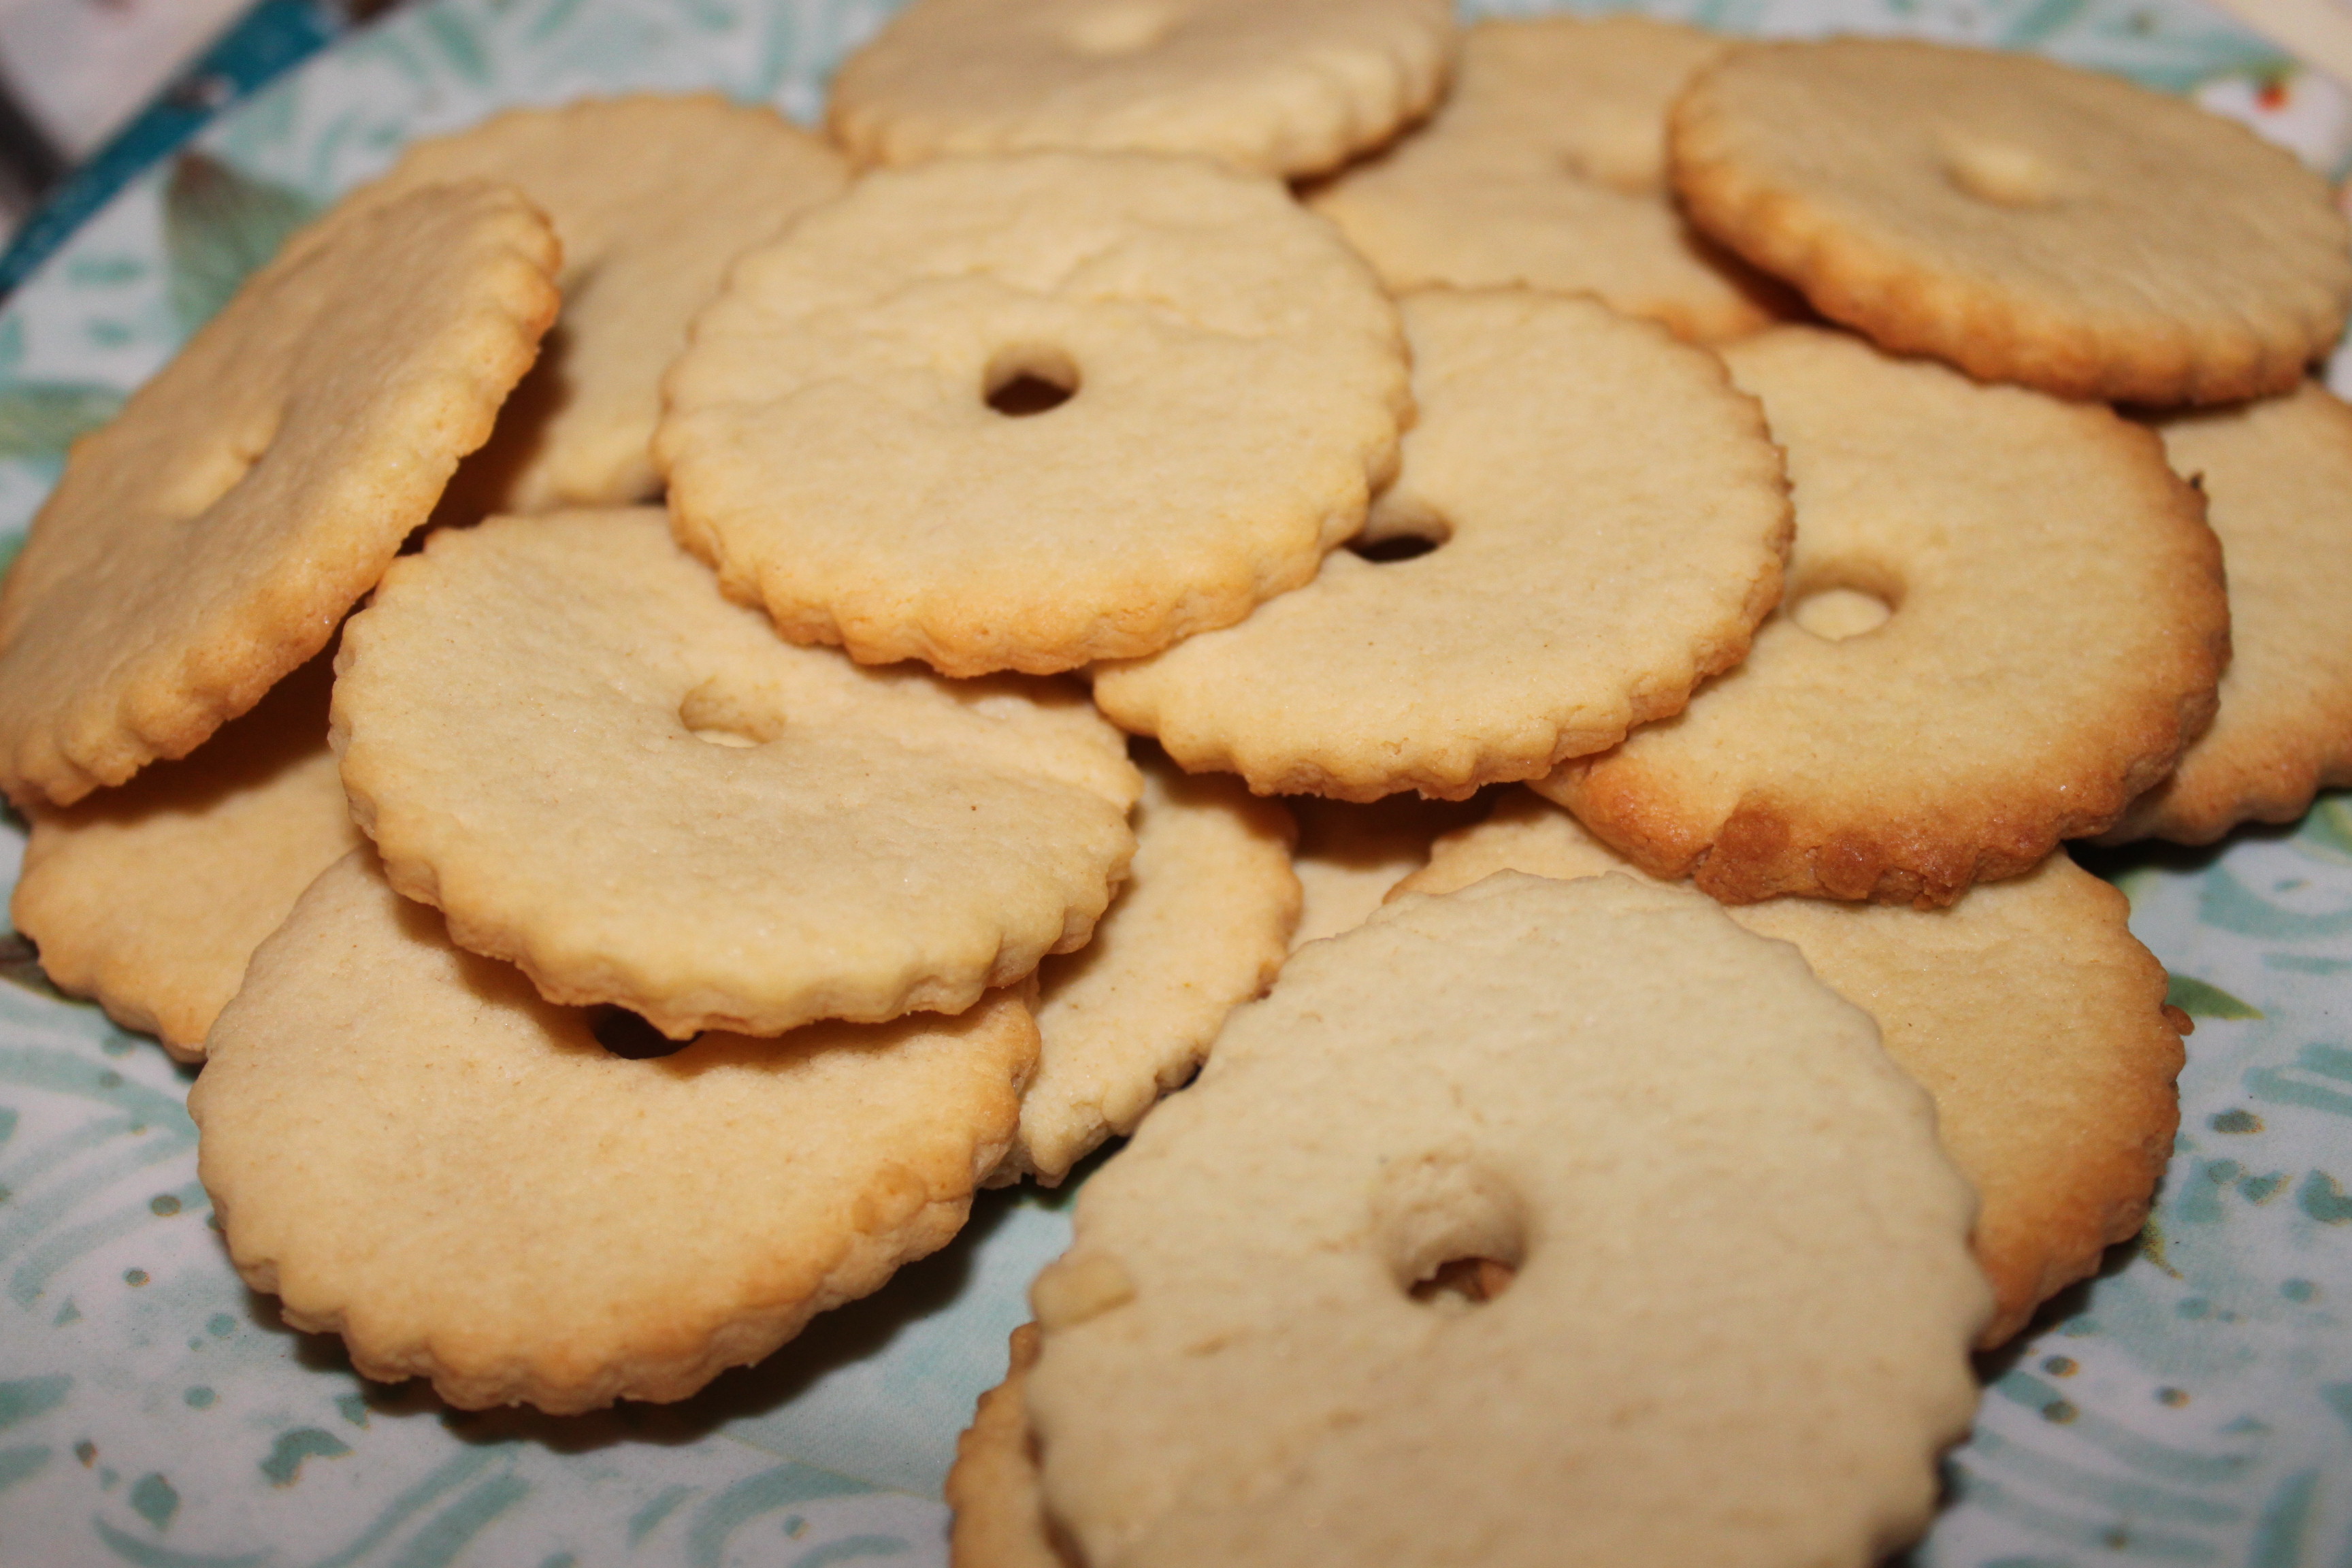
- In small batches, roll the dough out to about 1/4 inch thick and cut out 1-1/2 inch rounds with a cookie cutter (one with a hole in the middle already is preferable, these are a lot of work as is; if you don’t have one of those, cut a smaller hole in the center of each round). Repeat with remaining dough.
- Bake cookies on a parchment lined baking sheet for 10-15 minutes until lightly browned on the bottom and completely set. Remove from baking sheet and cool completely before adding the topping.
For Topping:
- Preheat oven to 300 degrees. Spread coconut evenly across parchment lined baking sheet and toast for about 20 minutes until golden and fragrant. Stir every 5 minutes or so to toast evenly and keep the coconut from burning. Remove from oven and set aside to cool.

- Remove caramels from wrappers and place in microwave safe bowl with milk and salt. Cook on high for 3 to 4 minutes, stopping a few times to stir and help the caramel melt. When caramel mixture is smooth, fold in toasted coconut.

- Spread the caramel topping on the cooled cookies. If caramel begins to solidify, microwave for a few seconds to make it easier to work with. I recommend working in batches because each time you microwave, the caramel gets more difficult to work with. Each cookie will need about 2 to 3 tablespoons of caramel. Use as much as you want, but try to maintain the hole in the center of the cookie for aesthetics.
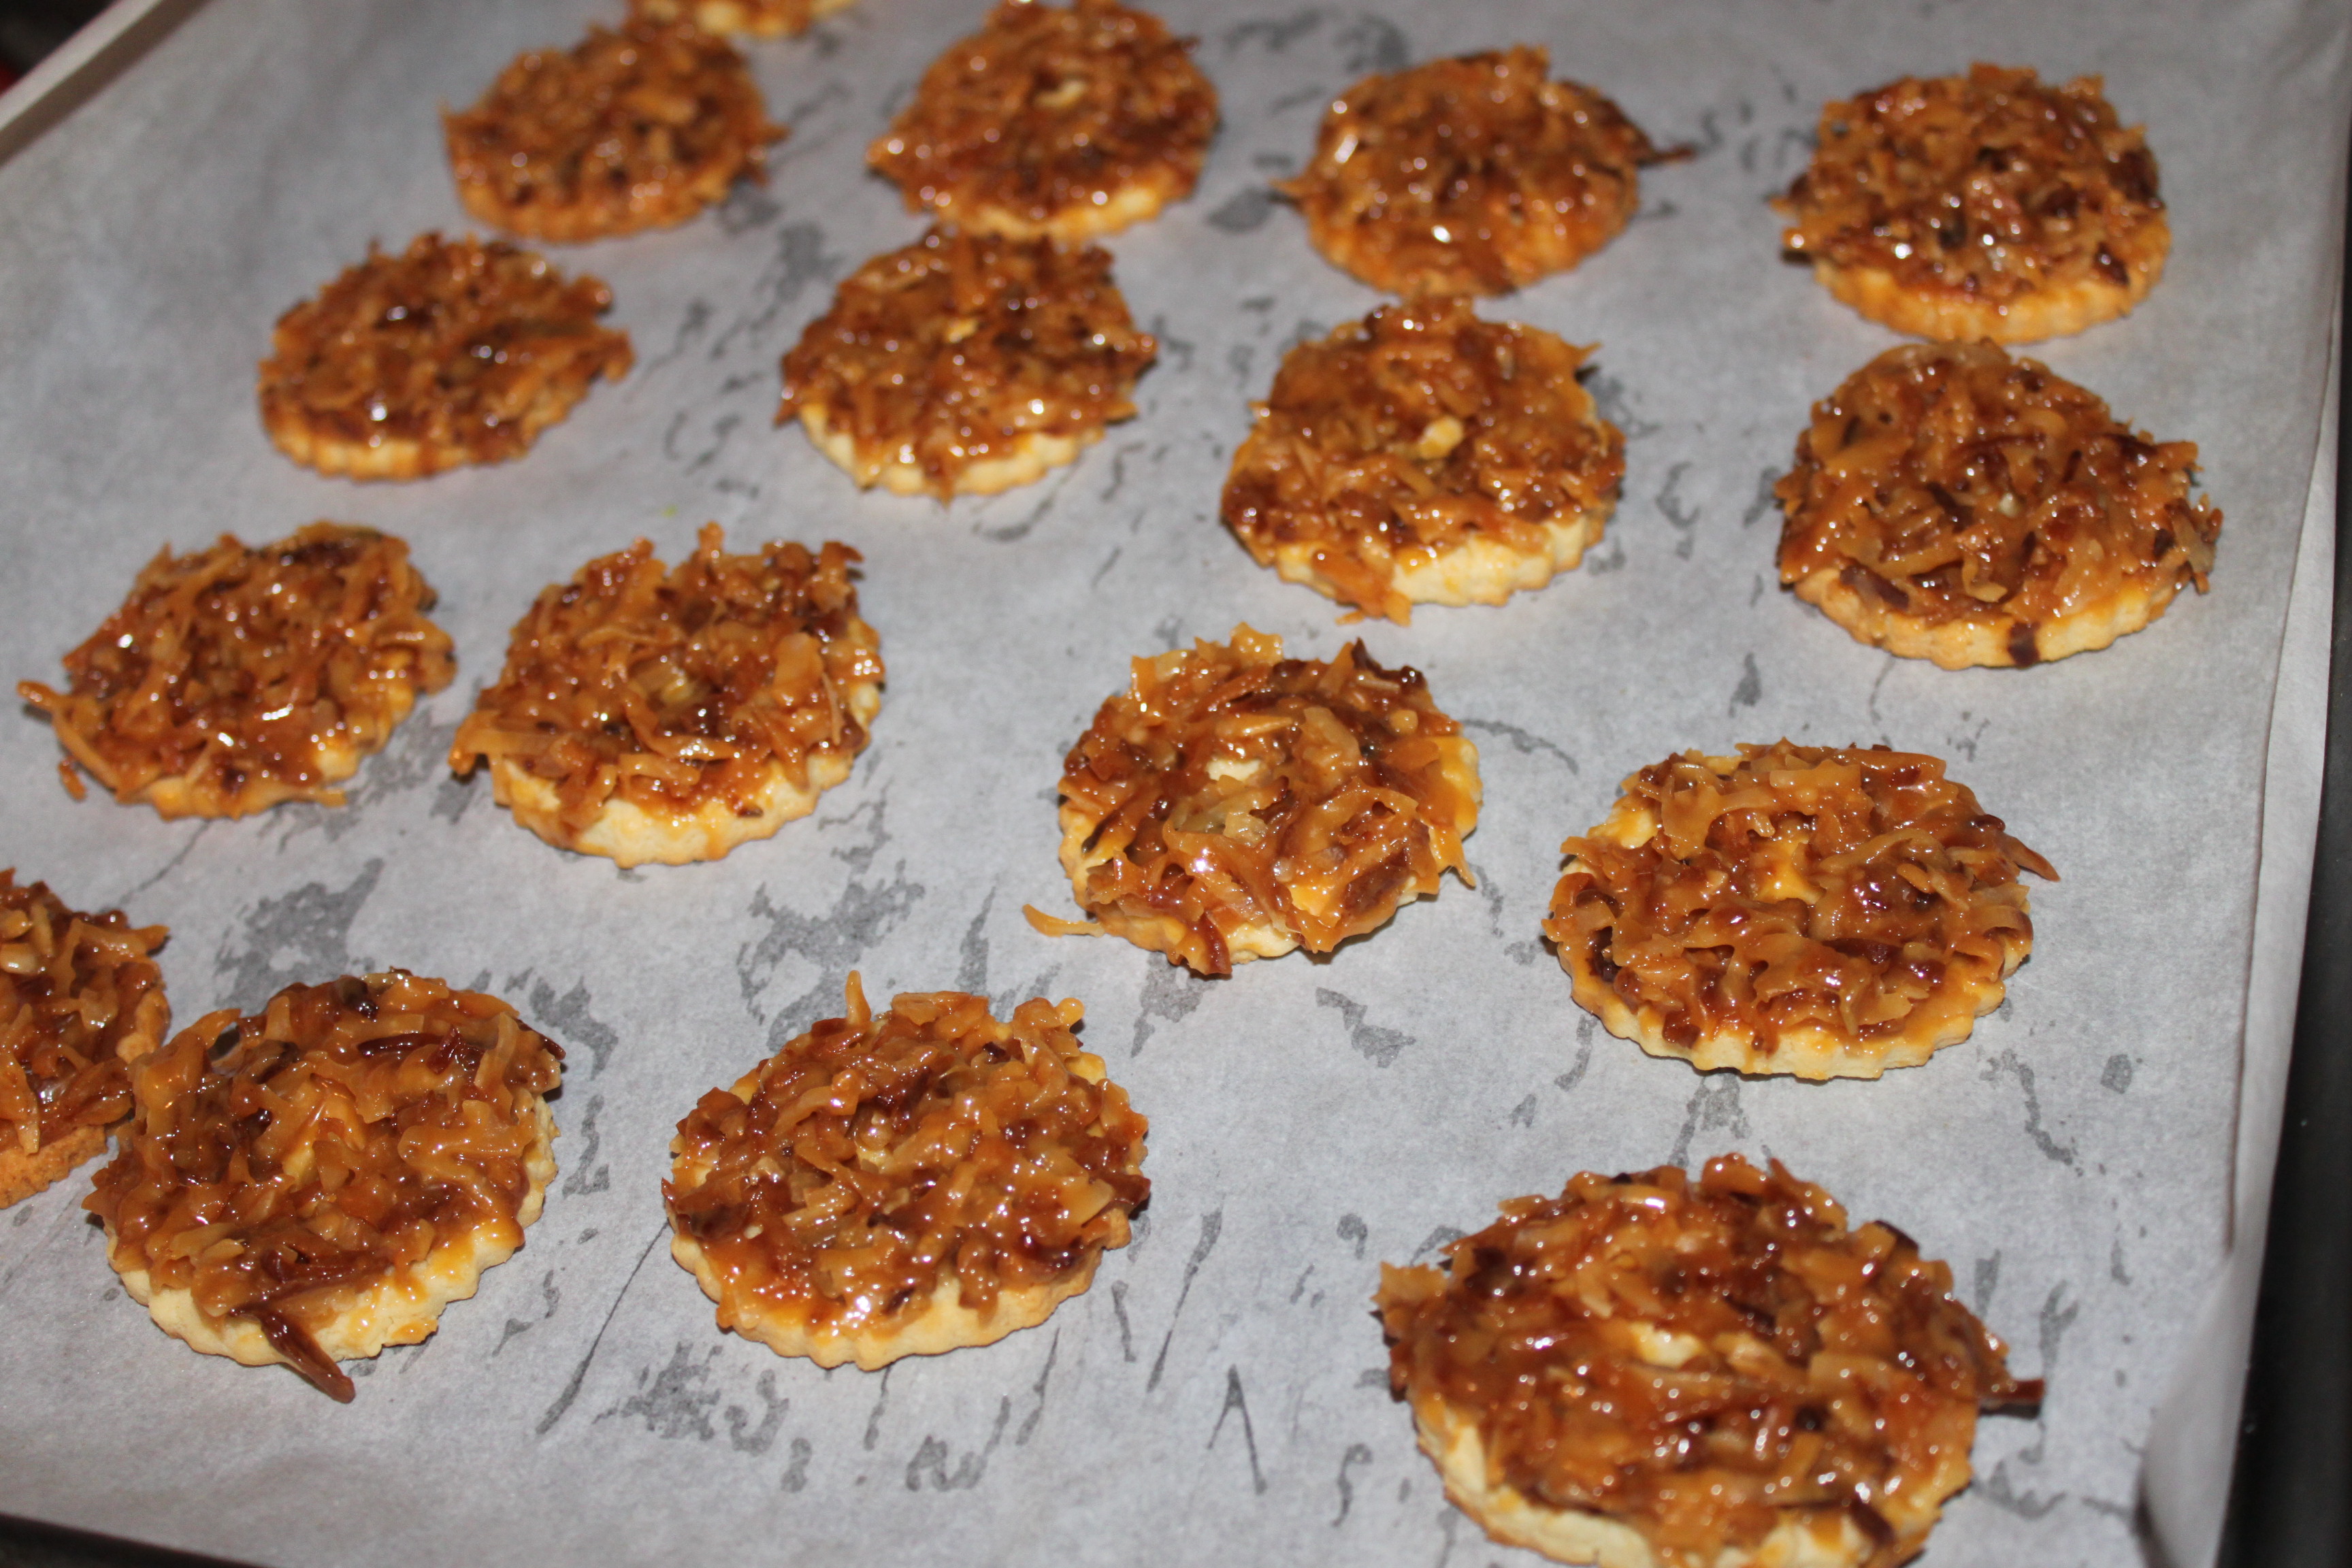
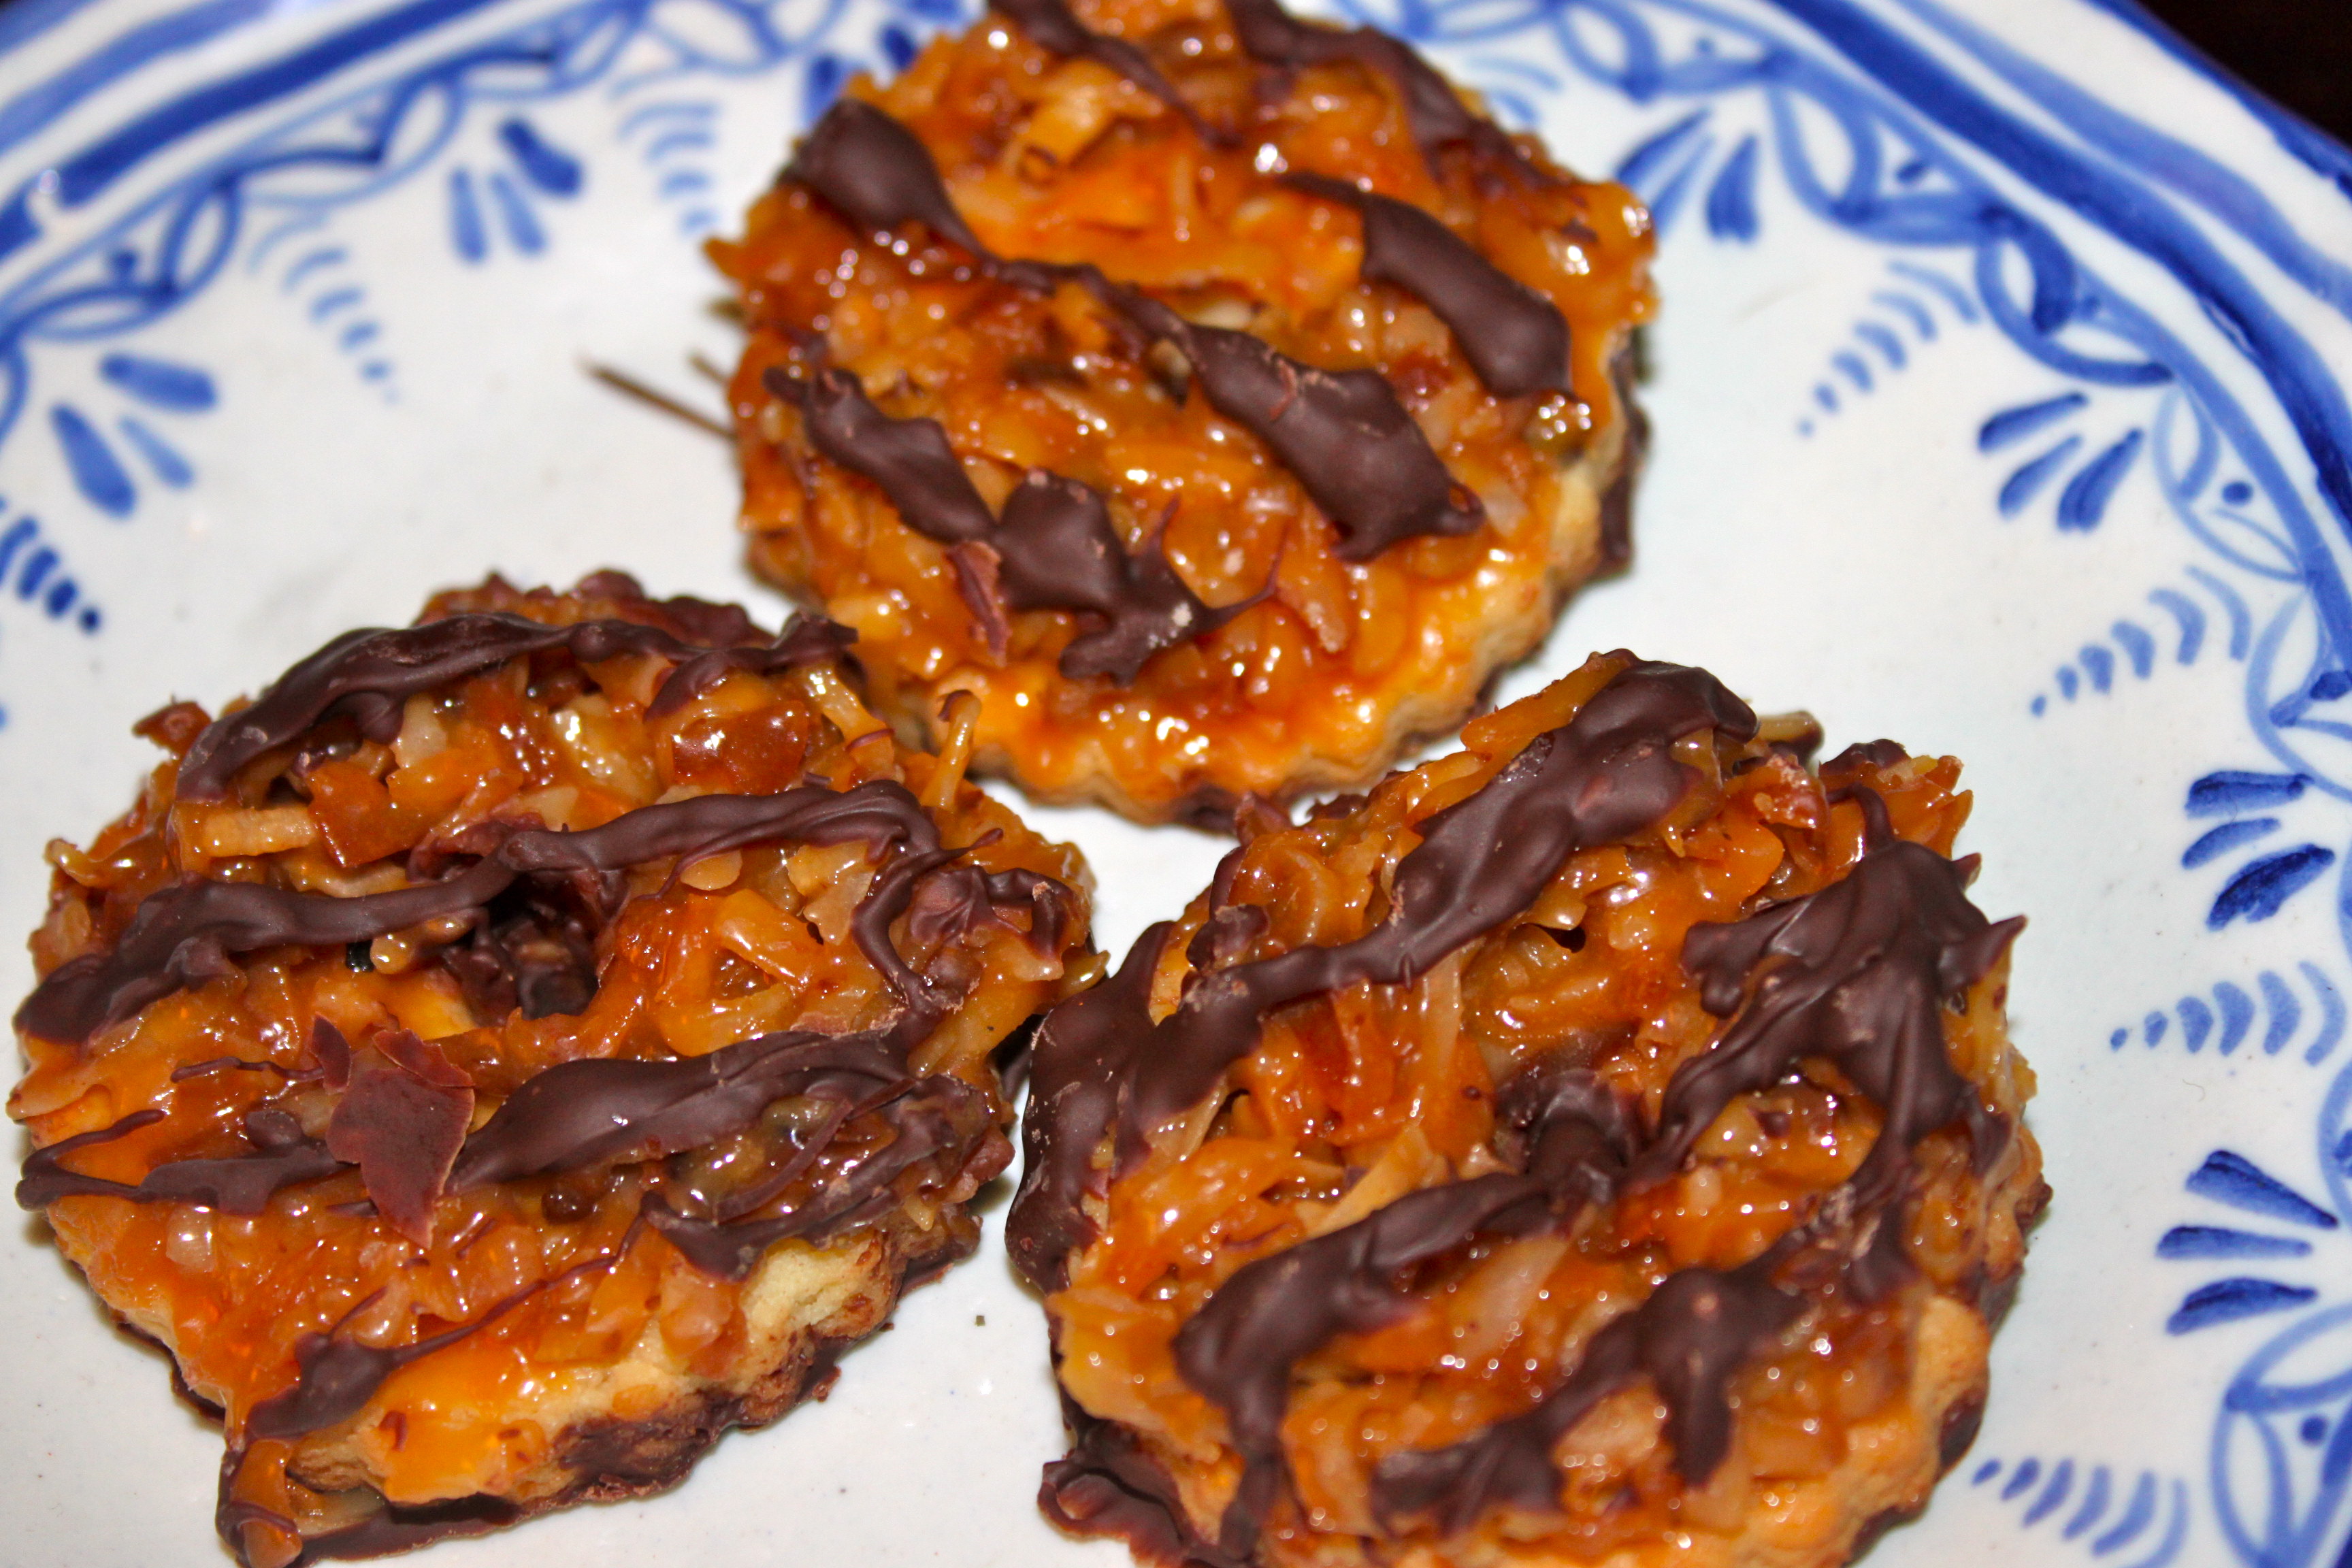
- Melt the dark chocolate while the caramel is setting up. Dip the base of each cookie into the chocolate and set each piece on a clean sheet of parchment paper. Aluminum foil or any other smooth surface will work too, but the cookies will need to cool completely to remove. Pipe the remaining chocolate in a zig-zag pattern over the top of the cookies. Let the chocolate set completely before storing.



Jo these look amazing!